
Duet 1LC Mount for EVA 3 Toolhead on Rat Rig V-Core 3

In this post, you'll find information about a new mount designed for attaching a Duet 1LC Toolboard to the EVA 3 Toolhead on Rat Rig V-core 3 printers. We'll detail the design, its functionality, and provide guidance on how to utilize it with your printer setup.
| Duet 1LC Quick Links | |
|---|---|
| Duet 1LC - Purchase | Click Here |
| Duet 1LC - Docs | Click Here |
| EVA 3 - Official Site | Click Here |
| Modern Makes Printables Profile | Click Here |

Overview of the Mount Design
I decided to give my EVA 3 toolhead an upgrade by finally switching my Rapido HF to UHF which brought along the need for new cooling ducts, and a new Euclid Probe mount + dock. While I was at it, redesigning a mount for my Duet 1LC Toolboard just made sense.
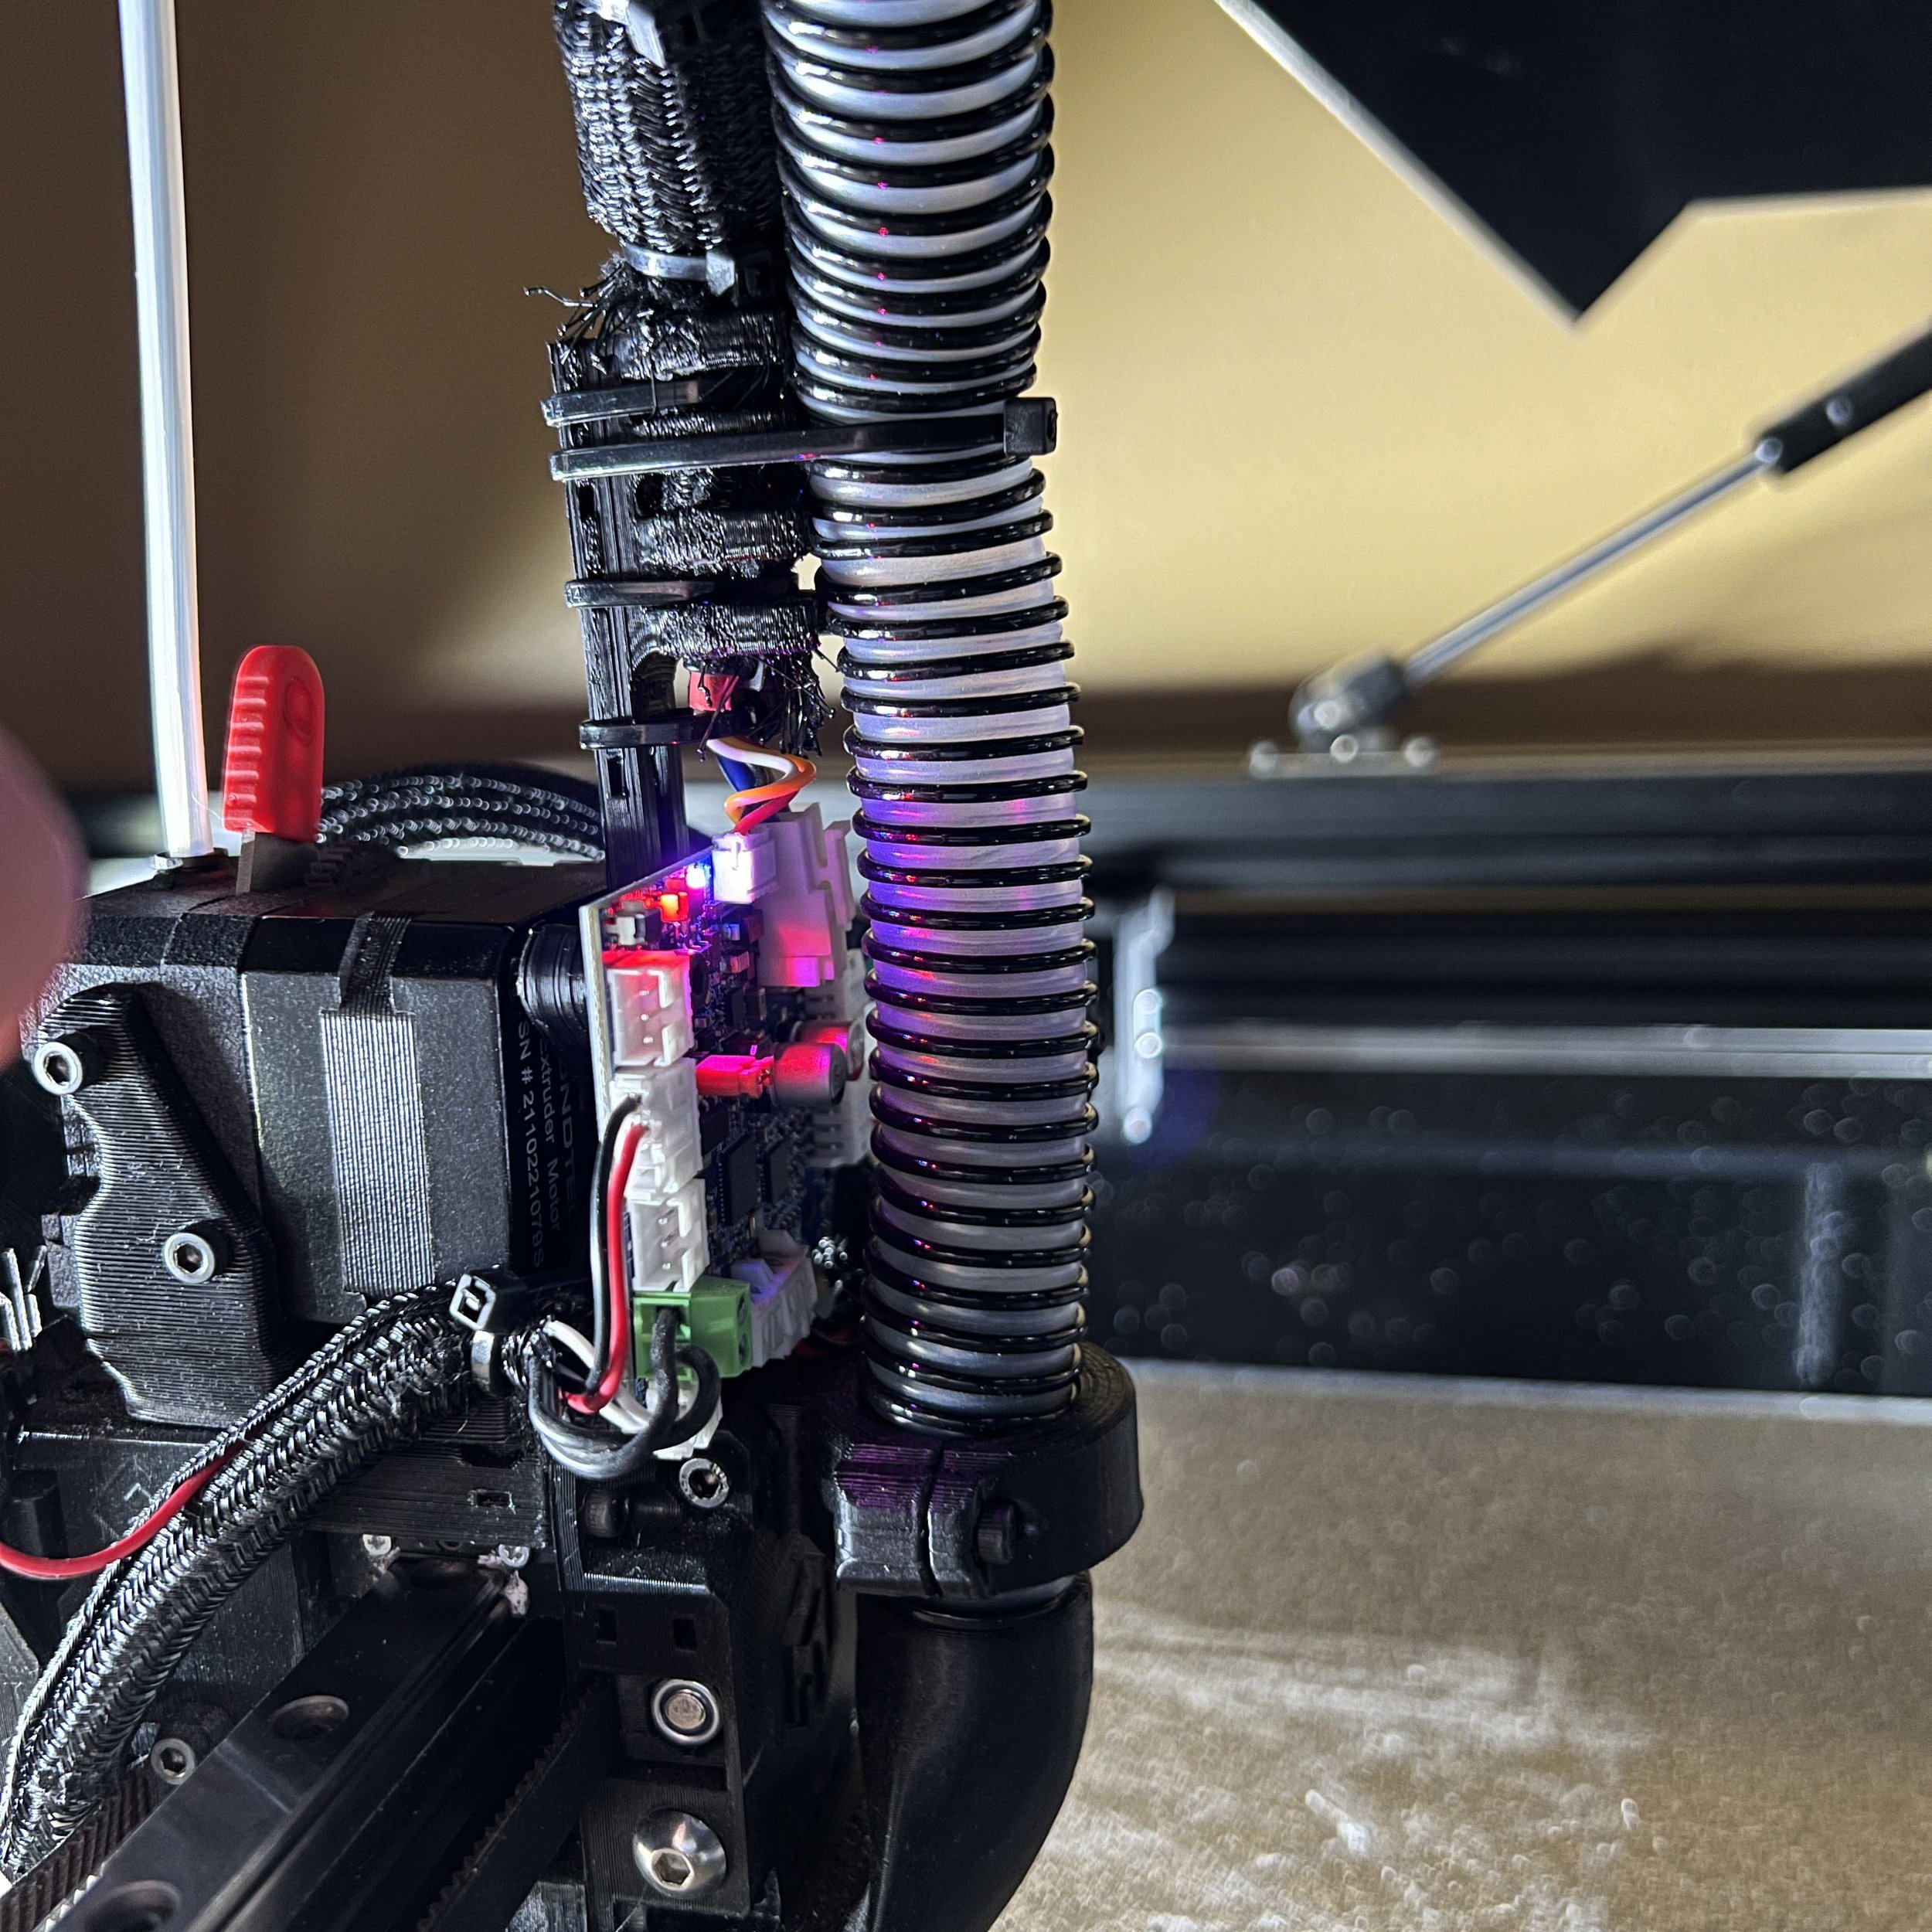
The first go at the mount was a bit on the heavy side and had the board sitting too high. I was aiming to get the board closer to the x-rail while keeping it in the same spot (behind the extruder), shed some weight, and ditch the cover from the first version.
This new design still keeps a strain relief for the 1LC cables and uses the existing holes for the stock EVA 3 strain relief, which works well with my CPAP clip for mounting the CPAP tube.


Slicer Settings
Here are some slicer settings to consider when printing the mount:
Material: ABS/ASA/Nylon/PC - I used Easy PC from Filaments.ca. I’m using this mount in an enclosed printer so I need a filament that can withstand the heat. If your printer is not enclosed, you may be able to get away with just using PETG. I would still recommend ABS or ASA as a bare minimum.
Layer Height: 0.2mm
Line Width: 0.4mm
Infill: 25%
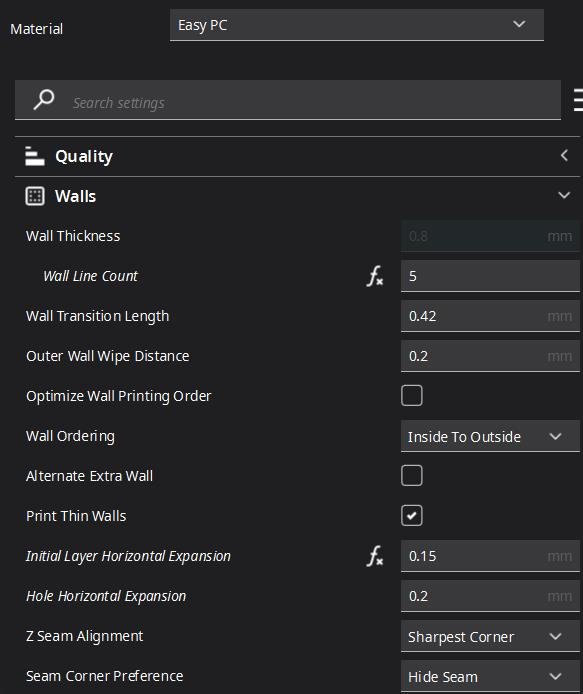
Walls: 5 - Since this part requires M3 heat inserts, I recommend at least 5 walls.
Supports: Yes
Orientation: On it’s back (Largest flat section)
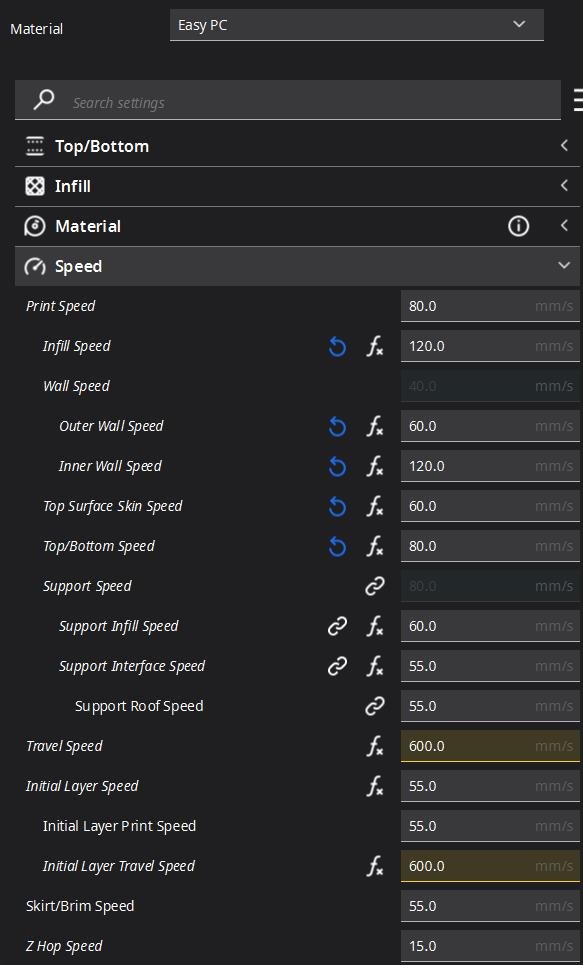
Here are the Cura settings I’m using:


Installation Guidance
Putting this mount to work is straightforward. It's all about unscrewing a few things, swapping the mount, and screwing things back up. Here’s how you can get it all set up:
Tools Needed:
Parts Needed:
Prep Work:
First off, use your soldering iron and install 4 x M3 heat inserts into the mount. These are what the Duet 1LC attaches to.
Second, power down your Rat Rig V-core 3 printer. Unplugging things like a stepper motor while the power is on could cause a short out and has the potential to brick your motor or driver.
If there’s an old mount in place, get it off there and keep the bolts close; you’ll need them in a bit.
Mount Up:
Now, grab the newly printed mount (you’ll find the file in the next section). Using the M3 bolts from your old mount/strain relief, attach the new mount to the EVA 3 toolhead.
Fit the Duet 1LC Toolboard onto the mount, lining up the holes, and secure it with the M3 8mm bolts.
Cable Management:
Run the 1LC cables through the strain relief and hook them up to the board.
I placed a narrow channel for a zip tie in the neck of the strain relief. I like to bunch up a bit of the electrical and data cords and then fasten them down tightly with a zip tie. This way, no matter how hard the force on the strain relief is, I’m confident these cords won’t be pulled from their terminals.
Zip tie the cables to the strain relief.
If you’ve got a CPAP fan, zip tie it to the 1LC cables, and you're good to go.
And that’s about it! Your Rat Rig V-core 3 is now geared up with a sleek, lightweight mount that's bringing the Duet 1LC Toolboard closer to the action, all set to streamline your printing operations.


Download the Files from Printables
Ready to get this mount on your printer? The design file is hosted on my Printables account.
Head over to Printables to grab the file. Once downloaded, you can load it up in your 3D printer and get printing.

If you’re looking for my EVA 3 CPAP Cooling Duct, click here.
Related Articles


Trending Articles


Latest Articles


Discover a new mount design for attaching the Duet 1LC Toolboard to the EVA 3 Toolhead on Rat Rig V-core 3 printers. Download the file from Printables and enhance your 3D printing setup.